Saturday, May 28, 2011

Oh Cheesecake...


Just a few days ago it was my best friend Katie's birthday. Cheesecake is her absolute favorite dessert. I wanted to make her a cheesecake, but there is only one problem: she lives far far away (okay, well she lives in Canada). So I had two options: make and send her a cheesecake (which would be cheesecake soup by the time she got it), or make her a cheesecake and send her a picture of the masterpiece. Well I chose neither. Actually, my friend Scott and I decided to do something better, much better. We made a cooking show featuring Katie's birthday cheesecake. And wouldn't you know, she loved it! I am sure she would have loved the cheesecake as well, if she would have been able to taste it.

Here is the cooking show Scott and I put together. We titled it: At Home with the Master Chef (very creative, I know). Watch it and try not to drool over your keyboard. (Oh and try not to be jealous of our commercials.)


If I could choose one dessert to eat every day for the rest of my life, I would choose cheesecake. Rich, creamy, sweet. Oh for the stars, so good.


"Hey Scottie, you wanna make some cheesecake?"
"Sure."
"Sweet."


And what's a cheesecake without the crust? And a marbled crust at that. I call it the "Cookies and Cream Cheesecake Crust" (say that 5 times fast).


 The batter. Eat it raw, you know you want to.


"GOOP!"


"Nice and creamy..."


Hot out of the oven.


Cool for at least 4 hours. Or you could use my method: stick it in the freezer for 30 minutes to 1 hour. (Procrastination is key.)


Happy Birthday Katie love!


Oh hey, I am cheesecake and I am delicious.

A little slice of Heaven.


Peanut Butter and Oreo Cheesecake
  • 1 package (18 oz) Oreo Chocolate Sandwich Cookies
  • 3 tablespoons butter, melted
  • 3 packages (8 oz each) cream cheese, softened
  • 3/4 cup sugar
  • 1 container (16 oz) sour cream
  • 1 1/2 cups creamy peanut butter
  • 3 eggs
  1. Preheat oven to 350 degrees F. Finely crush 16 of the cookies. Coarsely chop remaining 14 cookies; set aside.
  2. Mix finely crushed cookies and butter. Press firmly onto bottom of 9-inch springform pan; set aside.
  3. Beat cream cheese and sugar in a large bowl with electric mixer at medium speed until well blended. Add sour cream and peanut butter; mix well. Add eggs, 1 at a time, mixing on low speed after each addition just until blended. Gently stir in chopped cookies. Pour over crust.
  4. Bake 50 to 60 minutes or until center is almost set. Run knife or metal spatula around side of pan to loosen cake; cool before removing side of pan. Refrigerate 4 hours or overnight or even better--cool in the freezer for 30 minutes to one hour. (Yay for procrastination!) Store leftover cheesecake in refrigerator. Don't forget to top with whipped cream. Oh yes.
*Note: if using a normal size (9-inch) pie pan (not a springform), then this recipe will make 2 cheesecakes. You will have enough oreos to make only one crust, but you can make a marbled crust out of unused oreos and graham cracker crumbs. If using a normal pie pan, bake your cheesecakes for 25 to 30 minutes each.

Tuesday, May 24, 2011

Falafels

Falafels are balls or patties made from ground chickpeas (also called garbanzo beans). Falafels are served in some sort of flat bread--pita bread is popular, but lavash bread can also be used. Falafel balls are topped with greens, vegetables, and drizzled with tahini-based sauces. They originated in Egypt and is often considered the national dish of Israel. These fritters are now found all over the world and are a popular street food.


First things first: make the flatbread.

Flat Bread
(You can call this pita bread, but I think "flat bread" is WAY cooler).
  • 1 1/8 cup warm water
  • 3 cups flour
  • 2 teaspoons salt
  • 1 tablespoon olive oil
  • 1 1/2 teaspoon sugar
  • 1 1/2 teaspoon yeast
  1. In a large bowl, mix together the water, sugar, oil, and yeast. Proof the yeast in this mixture for 5 minutes, until it is frothy. 
  2. Add in the flour and salt. Knead until smooth, about 10 minutes.
  3. Oil the bowl and cover the dough with plastic wrap. Let rise until doubled in size, about 1 1/2 hours.
  4. After rising, divide the dough into balls (there should be 8 balls). Cover and let rise for 30 minutes. Stretch each ball into a flat disk. Let those rise for another 20-30 minutes.
  5. Preheat the oven to 500 degrees F. Set a cookie sheet into the oven so it gets hot.
  6. Bake 2 disks at a time on your heated cookie sheet. Bake these for about 5 minutes, flipping them at about 2 1/2 minutes. They should be slightly golden and should puff up.
  7. Immediately place the bread into a bag to keep it soft.

After kneading.
After rising for 1 1/2 hours.
Form into rolls. Let rise again for 30 minutes.
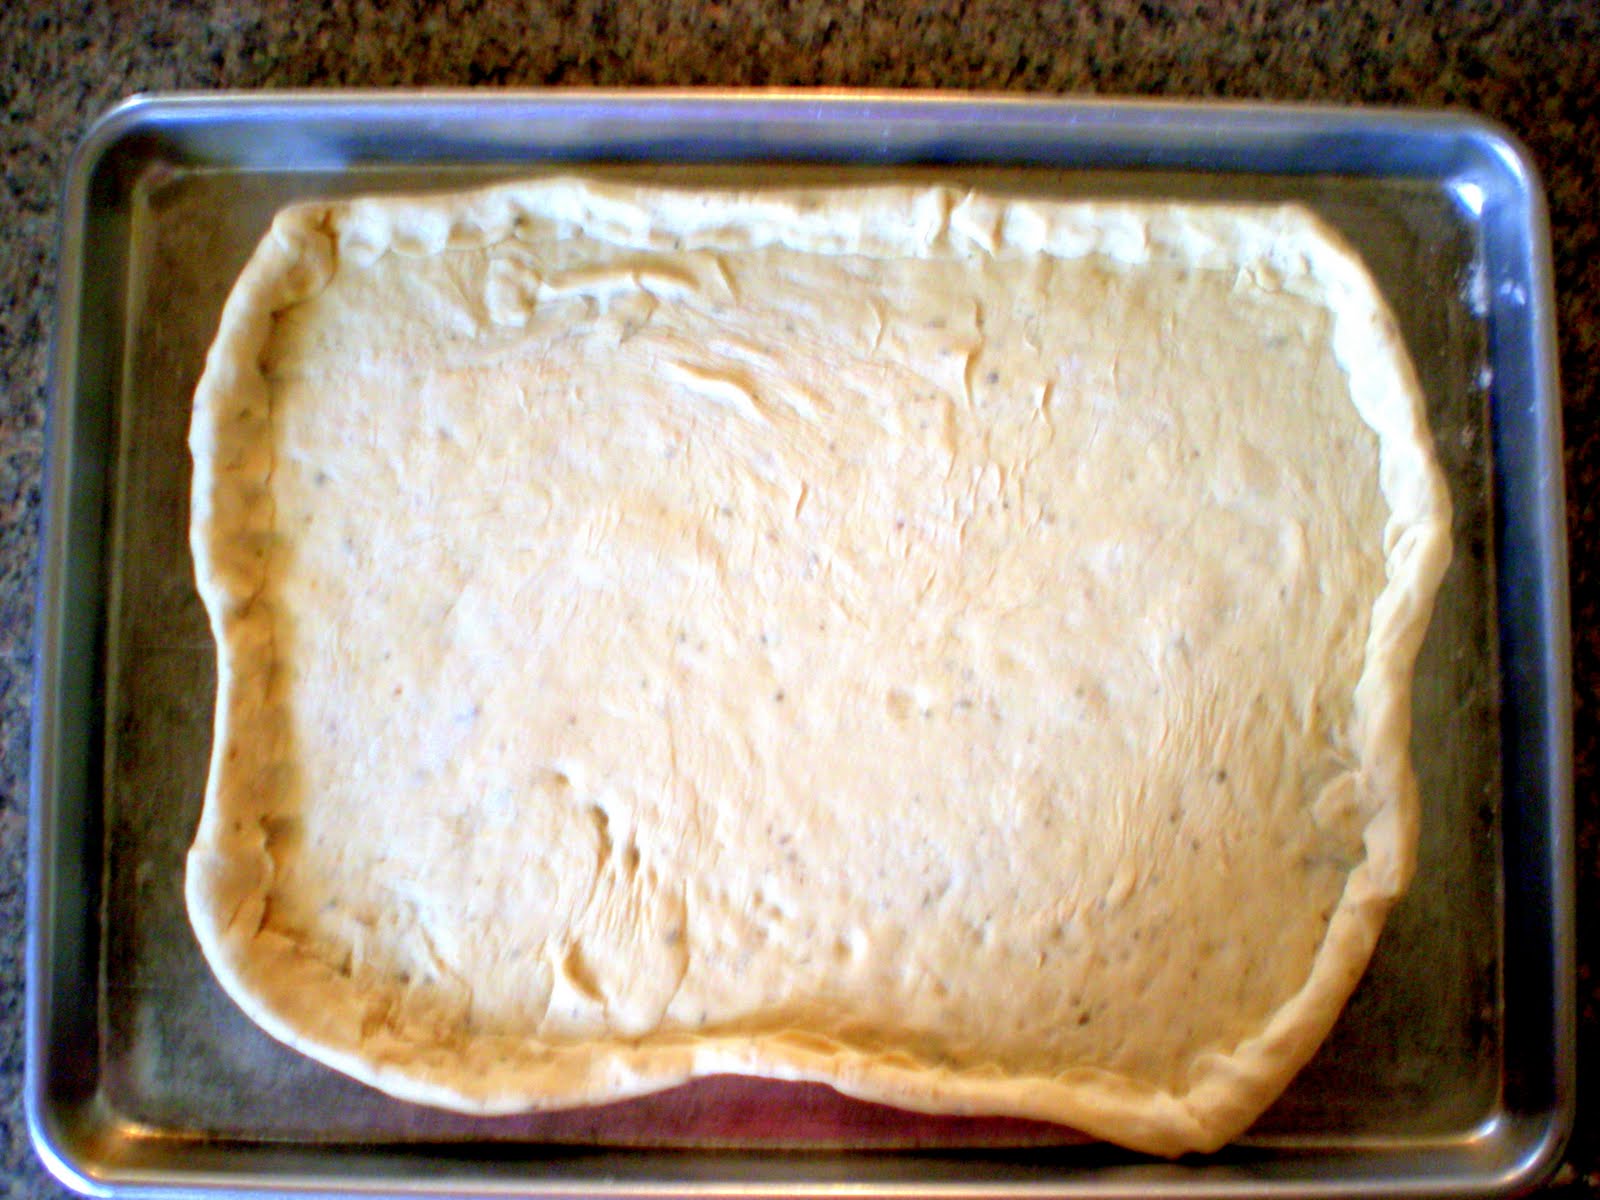
Stretch into disks.
Bake for 5-6 minutes on a hot cookie sheet inside the oven.

Now time for all the fixin's.
 
Baba Ghanoush
Baba ghanoush is an Arab dish of eggplant mashed and mixed with seasonings. The eggplant is roasted (baked) before peeling, so that the pulp is soft and has a smoky taste. It is often eaten at a dip. It is popular in Egypt, and for this reason I decided to make it for my falafel wraps. I decided to make my baba ghanoush more like a roasted eggplant hummus, and oh my heavens, it was divine.
  • One eggplant
  • 2 cups chickpeas, canned or cooked (and drained)
  • 1/4 cup lemon juice
  • 1/3 cup tahini
  • 2 cloves garlic
  • 1/4 cup olive oil
  • 1/4 cup fresh parsley
  • 1/4 cup fresh cilantro
  • 1 dried red chili
  • salt and pepper
  • paprika and cumin
  • 2 tablespoons ketchup (I know this is a weird ingredient to add, but I promise that it is vital to the flavor of this baba ghanoush)
  1. Roast the eggplant in the oven at 400 degrees F for 30 minutes. 
  2. Place in a plastic bag and let sweat for 30 minutes.
  3. Meanwhile, puree the chickpeas with the tahini, lemon juice, and garlic in a food processor. Drizzle in the olive oil. Mix until smooth.
  4. Peel the skin from the eggplant. Scoop out the pulp AKA guts :)
  5. Once the chickpea mixture is smooth, mix in the eggplant pulp. 
  6. Add in the dried red chili. Puree in the cilantro and parsley. Mix in the spices. At last, add in the ketchup.
  7. Adjust seasonings to taste.
 Garlic. Very good for you plus. Eat it. Everyday.
 Oh how I love garlic.
Roasted eggplant.
Let sweat in a bag for about 30 minutes.
Peel off the skin and scoop out the guts. Well it looks like guts anyway.
Mix into the Baba Ghanoush.

Falafel Vinaigrette
This stuff is really yummy. Use as a drizzle for your falafel wraps.
  • 1/2 cup red wine vinegar
  • 1 cup olive oil
  • 2 tablespoons tahini
  • 1 teaspoon lemon juice
  • 2 garlic cloves, minced
  • a couple leaves of fresh mint (or a pinch of dried mint)
  • 3 tablespoons honey
  • a touch of fresh parsley and cilantro
  • 1 dried red chili
  • 1 tablespoon ketchup
  • salt and pepper
  • ground cumin and coriander
  1. Puree all the ingredients in a blender until smooth. Adjust seasonings to taste.
 

Okay, now comes the fun part!

Falafels
  • 1 cup bulgur wheat, soaked for 24 hours
  • 1 cup dried chickpeas, soaked for 24 hours (or canned and drained)
  • 1/4 green onions, pureed
  • 2 cloves garlic, pureed
  • 1/4 cup cilantro, chopped
  • 1/4 cup parsley, chopped
  • 1 1/2 teaspoons cumin
  • 1 1/2 teaspoons coriander
  • 1 teaspoon salt
  • 1 pinch chili powder (or cayanne)
  • 1 teaspoon baking powder
  1. In a food processer, chop the chickpeas until they reach the consistency of bread crumbs. This step is vital. Your chickpeas should not be creamy or it will make for mushy falafel balls. Make sure they are not pureed.
  2. Place minced chickpeas into a large bowl. 
  3. In the food processor, puree the green onions with the garlic. Add to the chickpea mixture.
  4. Process the soaked bulgur wheat in the food processor until pasty and sticky. You want your bulgur wheat to be pureed and smooth. This acts as the glue that will hold your falafels together.
  5. Place pasty bulgur wheat into chickpea mixture. Stir all of these things together. Mix in the cilantro, parsley, and spices. 
  6. Your falafel mixture should be slighty sticky, but not too sticky. You should be able to form balls out of your mixture. 
  7. Stir in the baking powder and let mixture sit for 5-10 minutes. The baking powder will fluff up your falafel mixture.
  8. At this point, you should test your falafel texture by frying some balls in hot oil. If you like the texture, leave it be. If you want it less mushy, add in a handful of breadcrumbs or cornmeal (even quick oats worked for me). 
  9. You can let your falafel mixture rest in the fridge overnight for a more consistent texture.
  10. When it is time to eat, form balls out of your falafel mixture and fry in a small pot filled with hot oil. I found that when my stovetop was set to medium to medium-low is when the falafels fried the best. (Note that they should sizzle right as you place them in the oil.)
  11. Place a few falafel balls in the hot oil and fry until golden brown to a rich brown color. Retrieve them from the pot with a slotted spoon. Drain on paper towels.
*To serve your falafel wraps: Spread some baba ghanoush on a piece of flat bread. Fill your wrap with 3-4 fried falafel balls, some fried potatoes, fried eggplant, chopped tomatoes, fresh parsley, fresh cilantro, caramelized onions, fresh onions, spring mix, etc. Drizzle with the falafel vinaigrette. Eat and feel like you've died and gone to Heaven.

Making the falafels.
Stir it all together
Garnishes and Stuffings: fried potatoes, fried eggplant, caramelized onions, tomatoes, raw onions, cilantro, parsley, baba ghanoush, falafel vinaigrette.
My friend, Tennyson, frying up some falafels.
Raw falafels. Vegetarian/Vegan and healthy.
Fried falafels. Not as healthy, but oh so delicious.
Falafel party!
Yum.
Base layers
Fold like a taco.
 Scrumptious.

Wednesday, May 18, 2011

Stuffed Pizza Crust

There are two types of people in this world: those who like a thin and crispy pizza crust and those who like a soft and chewy pizza crust. What type am I? I haven't decided quite yet. One day I will claim that thin crust is the best and the next day I have changed my mind completely and I want a thick crust that I can really sink my teeth into. Well today is a good day because this pizza crust has the best of both worlds. It combines the perfect crisp outer crust and chewy interior that makes for an amazing pizza crust. How is this possible? I will let you in on a little secret. Using bread flour rather than all-purpose flour produces a crispier exterior crust. And do you know what makes pizza even better? Stuffed crust. Yep, you heard that right--stuffed, cheesy, oozy, scrumptious crust.
 Cheese please.
How to stuff your crust:
Step 1: Cut mozzarella cheese sticks in half and lay around the edge of your rolled-out dough.
Step 2: Roll the outer edge toward the center, pinching the dough as you go.
Top the dough with your favorite toppings.
Bake, slice, and devour.
Pizza Dough
 
(Source: Baking Illustrated, pages 153-155)
Makes enough for 3 medium pizzas.
We find the food processor is the best tool for making pizza dough. However, only a food processor with a capacity of at least 11 cups can handle this much dough. You can also knead this dough by hand or in a standing mixer (see the variations that follow). Unbleached all-purpose flour can be used in a pinch, but the resulting crust will be less crisp. If you want to make pizza dough in the morning and let it rise on the counter all day, decrease the yeast to 1/2 teaspoon and let the covered dough rise at cool room temperature (about 68 degrees) until doubled in size, about 8 hours. You can prolong the rising time even further by refrigerating the covered dough for up to 16 hours and then letting it rise on the counter until doubled in size, which will take 6 to 8 hours.

1/2 cup warm water (about 110 degrees)
1 envelope (about 2 1/4 teaspoons) instant yeast
1 1/4 cups water, at room temperature
2 tablespoons extra-virgin olive oil
4 cups (22 ounces) bread flour, plus more for dusting work surface and hands
1 1/2 teaspoons salt
Olive oil or nonstick cooking spray for oiling the bowl


1. Measure the warm water into a 2-cup liquid measuring cup. Sprinkle in the yeast and let stand until the yeast dissolves and swells, about 5 minutes. Add the room-temperature water and oil and stir to combine.
2. Process the flour and salt in a large food processor, pulsing to combine. Continue pulsing while pouring the liquid ingredients (holding back a few tablespoons) through the feed tube. If the dough does not readily form into a ball, add the remaining liquid and continue to pulse until a ball forms. Process until the dough is smooth and elastic, about 30 seconds longer.
3. The dough will be a bit tacky, so use a rubber spatula to turn it out onto a lightly floured work surface. Knead by h and for a few strokes to form a smooth, round ball. Put the dough into a deep oiled bowl and cover with plastic wrap. Let rise until doubled in size, 1 1/2 to 2 hours. Press the dough to deflate it.

Pizza Dough Kneaded by Hand
Follow the recipe for Pizza Dough through step 1. Omit step 2 and instead combine the salt and half the flour in a deep bowl. Add the liquid ingredients and use a wooden spoon to combine. Add the remaining flour, stirring until a cohesive mass forms. Turn the dough onto a lightly floured work surface and knead until smooth and elastic 7 to 8 minutes, using as little dusting flour as possible while kneading. Form the dough into a ball, put it in a deep oiled bowl, cover with plastic wrap, and proceed with the recipe.


Pizza Dough Kneaded in a Standing Mixer
Follow the recipe for Pizza Dough through step 1. Omit step 2 and instead place the flour and salt in the bowl of a standing mixer fitted with the paddle. Briefly combine the dry ingredients at low speed. Slowly add the liquid ingredients and continue to mix at low speed until a cohesive mass forms. Stop the mixer and replace the paddle with the dough hook. Knead until the dough is smooth and elastic, about 5 minutes. Form the dough into a ball, put it in a deep oiled bowl, cover with plastic wrap, and proceed with the recipe.


Hawaiian Pizza with Stuffed Crust

3 cups pizza sauce
6-8 mozzarella cheese sticks
2 cups shredded mozzarella cheese
1 cup shredded Parmesan cheese
2 cups chopped pineapple
2 cups chopped ham (or canadian bacon)

1. Prepare the dough as directed in the Pizza Dough recipe. Place a pizza stone (or baking sheet) on a rack in the lower third of the oven. Heat the oven to 500° for at least 30 minutes. Turn the dough out onto a lightly floured work surface. Use a chef’s knife or dough scraper to divide the dough into three pieces. Form each piece of dough into three pieces. Form each piece of dough into a smooth, round ball and cover it with a damp cloth. Let the dough relax for at least 10 minutes but no more than 30 minutes.
3. Working with one piece of dough at a time and keeping the others covered, shape the dough, then transfer it to a pizza peel that has been lightly dusted with flour.
4. Cut mozzarella cheese sticks in half and lay around the edge of the rolled-out dough. Roll the edge in, pinching as you go.
5. Lightly brush the dough round with olive oil. Spread 1 cup tomato sauce over the dough round. Scatter a third of the shredded cheese, a third of the pineapple, and a third of the ham on each crust you make.
6. Slide the dough onto the heated stone. Bake until the crust edges brown and the cheese is golden brown in spots, 8 to 12 minutes. Remove the pizza from the oven, sprinkle with an additional 2 tablespoons Parmesan, cut into wedges, and serve immediately. Repeat steps 3, 4, and 5 with the remaining two pieces of dough and the remaining toppings.

Saturday, May 14, 2011

Pomegranate Coconut Granola

I love granola. It is the perfect combination of healthy, sweet, salty, crunchy, and chewy. I love trying new variations, and if you have seen my other blog, you will know that I have made many granola recipes. Here are some of my recipes: Sarah's Super Granola and Peanut Butter Granola and Maple Nut Granola and Craisin Raisin Granola and Granola Bars. Am I obsessed? Maybe. Is that a problem? Definitely not.

All the players.

I doubled my recipe, but only because there were a lot of mouths to feed. Note how it is midnight. Yes, I am a midnight snacker and I do my most productive work in the wee hours of the morning.

Stuff.

I love making signs for my food. Dork alert.


Pomegranate Coconut Granola

  • 4 cups old-fashioned rolled oats
  • 3/4 cup sliced or slivered almonds
  • 1/2 cup raw sunflower seeds
  • 1/2 cup raw pumpkin seeds
  • 1/2 tablespoon wheat germ (optional)
  • 1/2 tablespoon ground cinnamon
  • 1/4 teaspoon salt
  • 1/4 cup canola oil or coconut oil or unsalted butter (melted)
  • 1/2 cup pure maple syrup
  • 1 cup dried pomegranates (or cranberries, cherries, apricots, dates, figs, and/or raisins)
  • 1/2 cup dried shredded coconut
  1. Preheat oven to 325 degrees F (165 degrees C) and place rack in the center of the oven. Either butter or line a baking sheet with parchment paper.
  2. In a large bowl combine the rolled oats, nuts, seeds, wheat germ, ground cinnamon, and salt. 
  3. In a small bowl, stir together the oil (or melted butter), and maple syrup. Pour this mixture over the dry ingredients and toss together, making sure all the dry ingredients are coated with the liquid. 
  4. Spread onto the prepared baking sheet and bake for about 30 - 45 minutes or until golden brown, stirring occasionally so the mixture browns evenly. (The browner the granola gets (without burning) the crunchier the granola will be.) 
  5. Place on a wire rack to cool. You will notice that the granola may still be sticky when it is removed from the oven but it will become crisp and dry as it cools. Make sure to break up any large clumps of granola while the mixture is still warm. 
  6. Add in the dried fruit and shredded coconut. 
  7. Once the granola has completely cooled, store in an airtight container or plastic bag in the refrigerator. It will keep for several weeks.
Makes about 5 cups.

Tuesday, May 10, 2011

Greek Salad

This past summer, my family and I traveled to San Francisco. We ate out for almost every meal. I wanted to eat as healthy as possible while on this trip, so I usually ordered some type of salad with my meal wherever we ate. At one pizza place, I ordered a Greek salad. I fell in love. The combination of the tomatoes, cucumbers, red onion, kalamata olives, marinated chicken, feta cheese, and Greek dressing made my mouth go "yum" and my stomach happy.
Marinated and grilled chicken.
Garlic toast.

Tasty.

Greek Salad

For the chicken:

  • 1 lemon, juiced
  • 2 tablespoons extra-virgin olive oil
  • 1 teaspoon dried oregano
  • A couple good pinches salt
  • 10 grinds black pepper
  • 4 (6 to 7-ounce) boneless skinless chicken breasts

For the dressing:


  • 1/2 cup extra-virgin olive oil
  • 3 tablespoons red wine vinegar
  • 1/4 cup plain yogurt
  • 1 lemon, juiced
  • 2 cloves garlic, smashed with the side of your chef's knife
  • 1 teaspoon honey
  • 1 teaspoon dried oregano
  • 3 pinches salt
  • 10 to 15 grinds black pepper

For the salad:


  • 1 to 2 hearts romaine lettuce, chopped
  • 1/2 cucumber, sliced
  • 2 tomatoes
  • 1/2 red onion, very thinly sliced
  • 1/2 cup pitted kalamata olives
  • 1/4 cup crumbled feta cheese

  1. To marinate the chicken: In a dish, combine the lemon juice, olive oil, oregano, salt, and pepper and mix together. Add the chicken breasts to the dish and rub both sides in the mixture. Cover the dish with plastic wrap and let marinate in the refrigerator for at least 30 minutes and up to 4 hours.
  2. To make the dressing: Combine all the ingredients in a resealable container and shake vigorously, or blend in a blender. Refrigerate until ready to serve, and then bring to room temperature before tossing salad.
  3. Assemble the salad: Cut the lettuce into 1-inch strips and place in a bowl that is large enough to hold all the salad ingredients comfortably. Scatter cucumbers, tomatoes, red onion, olives, and feta over the top. You can prepare the salad up to a few hours in advance. Cover it with a moist paper towel and refrigerate until 30 minutes before serving.
  4. To cook the chicken: Heat a nonstick skillet or grill pan over high heat. Add the chicken breasts and cook, turning once, until well browned, about 4 to 5 minutes on each side or until cooked through. Let the chicken rest on a cutting board for a few minutes before slicing it into thin strips.
  5. Give the dressing a good shake and pour it into a nice little serving bowl, using the lid to strain out the garlic (omit this step if you used a blender).
  6. Toss salad just before serving and fan chicken out on top.


*FOLLOW ME ON TWITTER! click here to see my profile.*

Related Posts Plugin for WordPress, Blogger...