Tuesday, April 10, 2012

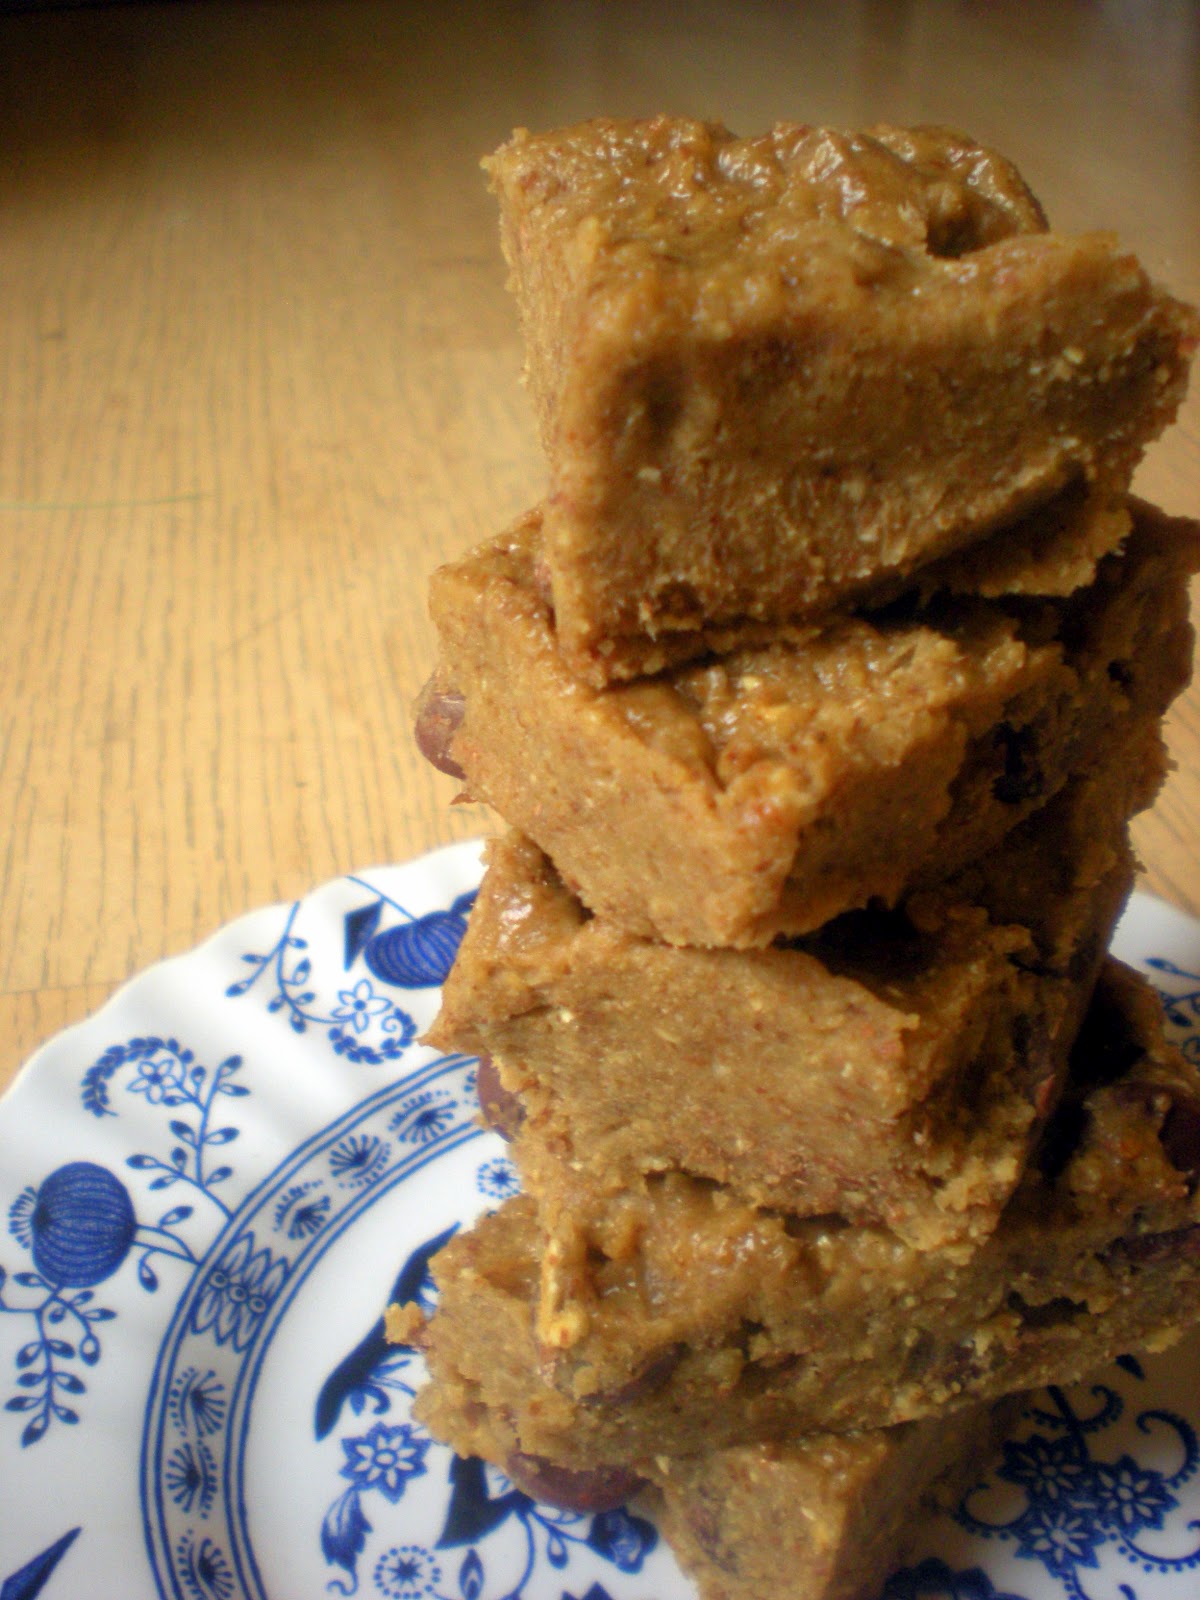
chocolate chip cookie dough freezer fudge


Once upon a time there was an amazing blogger. Her name was Princess Angela, and she made delicious vegan food. One day Angela decided that she wanted to make healthy cookie dough fudge. That was the day that my life changed.


Just look at it.
Seriously, who can deny the deliciousness of cookie dough?


I know I can't.

Swap butter, sugar, and milk for coconut oil, sucanat, banana, and almond milk...and voila! A caramel syrup that you can feel good about eating.

Then pulse oats with some almonds, and you got flour with character!

Mix it all together...


Add some chocolate chips, of course.

Press it all down into a pan.

Cool, cut, and serve!

Easy peasy lemon squeezy.


I am telling you, this fudge is one of the most delicious things you will ever taste. The almond and oats gives the dough a rich and buttery flavor, all while keeping it healthy. If you like cookie dough, you will LOVE this.
P.S. It is called freezer fudge because it needs to be kept in the freezer to stay firm.

Cookie Dough Freezer Fudge
Vegan and gluten-free

  • 3 tablespoons coconut oil
  • 3/4 cup Sucanat (or brown sugar--just don’t pack it)
  • 2 tablespoons almond milk
  • 1/3 cup mashed banana (I prefer to sub-in applesauce because I don't like my cookie dough tasting like banana bread--but if you do, go ahead and use banana)
  • 1 teaspoon pure vanilla extract
  • 1/4-1/2 teaspoon salt, to taste
  • 1 1/2 cups oats, ground into flour (use certified gluten-free oats to make it gluten-free)
  • 1 cup raw whole almonds, ground into flour (or use 1 1/2 cups almond flour)
  • 1/4 teaspoon cinnamon
  • 1/2 cup dark chocolate chips 


  1. In a medium-sized pot, heat the coconut oil over medium heat. Stir in the milk and sugar and bring to a low boil. Immediately, reduce heat to low and stir for a couple minutes until sugar is dissolved. Stir in the mashed banana. Turn off heat and stir in the salt and vanilla. Set aside.
  2. In a high speed blender, blend the oats until a flour forms. Add to a large bowl. Repeat process for the almonds, being sure not to over-process them as you don’t want the oils to release. Add to bowl and gently break apart any almond flour clumps with your fingers. Stir in the cinnamon.
  3. Pour wet mixture over the dry mixture and stir well until no flour remains. Place bowl in the freezer for 30 minutes (this is so the chocolate chips don't melt). Remove and stir in the chocolate chips.
  4. Line an 8-inch square pan with parchment paper. Scoop the cookie dough into the pan. Dip a spoon in water and spread it out until smooth. This dough will be very hard to spread, but don’t worry. Place in the freezer for 1 hour and then cut into squares and enjoy straight from the freezer. Store in the freezer in a ziploc bag or an air-tight container.

Thursday, April 5, 2012

eat at Molly's

This is Molly...


...and she makes delicious food.
Well, her restaurant does anyway.


Molly was the quintessential 50s mom who always had a hot meal ready for her family. Everyday she packed a lunch (like a meatloaf sandwich on homemade bread and a slice of pie or cake) for her husband when he went to work in the coal mine, often packing an extra one for any man who didn't have lunch. Even when her sons would come home, she would have a meal waiting for them on the nightstand, no matter what hour it was. And most of all, she made her food with the most important ingredient--love.

I seriously believe that her restaurant continues to do the same today. 
Devin and I had heard such great things about this place and were dying to go, but we had to really schedule our time tight because it is only open for lunch (11 AM to 2 PM).
But boy oh boy, were we glad we made time for it.
When you walk in, you are taken back by the peculiarity of the ambiance. It's small and simple, but really cozy. To my surprise, they served up the food buffet-style. But don't let that scare you, they are constantly replacing the containers with fresh food. It's the sort of place where you would want to sit and talk to your friends for a few hours (if only it were open longer).

The menu offers home-style choices like beef brisket, pulled pork, french chicken, and pot roast. Each entree comes with 2 sides and a choice of bread for only $8.95.
Dev got pulled pork (Carolina-style) with mashed potatoes & gravy and a cheddar biscuit, and I got french chicken with mashed taters, spinach salad, and white artisan bread. 
Everything was amazing.

Devin's pulled pork. I can honestly say that this was the best pulled pork I have ever tasted in my life. I had to refrain myself from eating his entire plate. Sorry Dev :)

French Chicken: really tasty, yet a tad dry. However, I was comparing the chicken to the pork entree, so my opinion was a bit biased.

I found out that my friend Rachel works for them. So she hooked us up with some cookies...booyah.


Oh, and PS...they cater!
Their catering company is called Marvellous Catering, and it looks fantastic. I am definitely going to keep them in mind for the future.

Just please promise me that you will go and eat at this amazing restaurant. You won't regret it, trust me.
If you don't believe me, just read the reviews at C. Jane's blog and UrbanSpoon.

Molly's
Tuesday through Friday
11 AM to 2 PM
753 W Columbia Ln
Provo, Utah
Molly's on Urbanspoon

Thursday, March 29, 2012

Creamy Tortellini Spinach Bacon Bake

Have you ever had that experience where someone gives you a recipe and proceeds to tell you: "You have to try this!" or "This is the best thing ever!"
That happens to me all too often.
Usually I respond by smiling and saying: "I am sure it is...of course I will make it!"
All the while I am thinking: "Yeah right, like this is the best thing ever. I am not going to make this stupid dish of yours..."

Was that a little too harsh?
Sorry, but it's the truth.
1 out of 10 times I will make something that you recommend.
I often think that "mine" will be better than "yours"...
And let's be honest, it often is.
Just kidding.

But today is different.
Because today I must confess that I folded.
Yep, I made that "This is the best thing ever!" dish.
My curiosity got the best of me.
And you know what?
I am here to tell you that this dish got my stamp of approval.
[insert applause here]
Congrats Aleisha, you did it.


What is that?
Tortellini?
Spinach?
Bacon?
All of the above?

It's like a match made in pasta heaven.

Fry up some bacon.

Make a cream sauce.


Possibly add in some lemon.


Throw in a bit of spinach.


And always, ALWAYS have a snack on the side!
I decided to snack on vegan coconut chocolate pudding...recipe to come soon!


Toss it all together in a pan.
Easy peasy lemon squeezy.


Creamy Tortellini Spinach Bacon Bake
  • 12 oz bag Barilla Cheese & Spinach Tortelini (usually in the dry pasta aisle)
  • 5-6 strips bacon
  • 3 cloves garlic, finely minced
  • 2 tablespoons flour
  • 2 cups milk
  • 1/2 teaspoon salt
  • 1/8 teaspoon black pepper
  • 1 1/2 teaspoons dried basil
  • 1/4 teaspoon red pepper flakes (add more if you like it spicy)
  • 1 small lemon
  • 2 cups loosely packed fresh spinach, roughly chopped
  • 1 cup grated mozzarella cheese, divided
  • 1 cup grated Parmesan cheese, divided

  1. Preheat oven to 350 degrees F.  Fill a large pot with water and bring to a boil.  Add tortellini and cook according to package instructions.
  2. Place bacon in a skillet on the stove-top at medium-high heat.  Cook until crisp.  Remove bacon from pan and set on paper towels to drain.  Crumble when cooled. Reserve two tablespoons bacon drippings in pan and discard the rest.  Add garlic to pan and cook until fragrant and tender, about 1 minute.  Add flour to pan and stir with a whisk for about 1 minute. Slowly add milk and continue to stir with whisk until smooth.  Add salt, pepper, basil, and red pepper flakes and bring sauce to a simmer.
  3. While sauce is heating, zest your lemon (a fine-holed cheese grater works well).  Then cut lemon in half and remove juice.  Add 1 teaspoon zest and 2 teaspoons lemon juice to sauce.  Continue to stir until thickened (about 2-3 minutes).  Remove from heat.
  4. Drain tortellini and place back in stock pot.  Reserve a small handful of the cooked/crumbled and set aside.  Add rest of bacon to the pasta mixture.  Add spinach, 3/4 cup mozzarella cheese and 3/4 cup Parmesan cheese.  Add in sauce and gently stir to combine.  Place pasta mixture in an 8×8 (or 9×9) sprayed baking dish and top with remaining 1/4 cup mozzarella cheese, 1/4 cup parmesan cheese, and remaining crumbled bacon.
  5. Cover pan with foil and bake for 20 minutes.  Remove foil and bake for an additional 5-10 minutes, until cheese on top is melted and pasta is bubbly throughout.  Remove from oven and cool for 10 minutes before serving.

Serves 4-6

Kudos to Our Best Bites. Love you guys.


Yes, I am a nerd who doesn't have enough counter space, so I prepare dishes on top of my dryer. Judge me all you want.


Nom noms.

Friday, March 23, 2012

peanut butter banana milk

I changed my blog.
Do you like it?
For the longest time, I have wanted to make a header with pictures on it.
I kept saying to myself,  Oh, I will do it next week... And that next week turned into next month, which turned into two months, which turned into...
Yeah, you get the picture.
You know what I have decided? When we make goals for ourselves, it is easy to procrastinate them into oblivion. I have a problem with that. But if I wake up one day and say, "I am going to organize my room today or I am going to clean out all that junk in my storage room, and NOTHING is going to get in my way!!"  Then I am able to accomplish that goal that I have been putting off for so long. The hard part is not letting anything get in your way. Sometimes that means letting your children run wild for a few hours or allowing the dishes to pile up for a day. In my case, I had to ignore the world for a few hours. This included ignoring my boyfriend for a while. He probably wasn't happy about that. Ha.
But the point is...you get that thing done, you accomplish that goal, you live that dream!
and. it. feels. so. good.

Can we talk about something REALLY important? It's called peanut butter.
Peanut butter is one of my favorite foods.
Especially peanut butter and bananas. together. all married and stuff.
I think if peanut butter and bananas had a baby, it would probably be the tastiest cutest thing ever.
Okay, that's kind of weird.
Please don't taste babies.


This will give you an idea of what my nut butter collection looks like---peanut butter, almond butter, white chocolate peanut butter, dark chocolate peanut butter, and Nutella of course.


It's great to have such a variety.
However, you can only eat that stuff plain for so long.
Then you get a little bored...


...so me and the blender decided to chat.
You want to know what I like about Mr. Blender?
He lets me talk all I want and he does exactly what I tell him.
We are great friends :)


I said, "Hey Mr. Blender! How does peanut butter, bananas, and milk sound?"
He said nothing. I took that as a good sign.


Then I said, "Hey Mr. Blender! How about you mix those three things up nice and smooth for me?"
Once again, he said nothing. And then he blended up those three things---just like I told him.
I love Mr. Blender.


What do you get when you combine peanut butter with bananas?
...
.....
........
.....
...
Hmmmm.....??
Give up?
Peanut butter banana babies?
Wrong.
It's actually peanut butter banana milk.
Better luck next time :)


Peanut Butter Banana Milk
  • 1 overripe banana, peeled and frozen
  • 2-3 tablespoons peanut butter
  • 1 cup milk (I prefer almond, but you can use anything you like)
  • 1 teaspoon honey (or brown sugar)
  • a dash of cinnamon (optional)
  1. Throw everything in the blender.
  2. Blend until you get a smooth mixture.
  3. Show that blender who is boss.
Note: If you want it thinner, add in 1/4 cup more milk. If you want it thicker, decrease milk to about 1/2 to 2/3 cup.

Oh hey, and as you are drinking your deeeelicious peanut butter banana milk, watch this. It's pretty hilarious.


In other news...


Recently some ants decided to pay me a nice little visit.
It was cute for a while. But now they won't leave.
No matter how many times I shoo them away, they just keep coming back.


I need some ideas of how to get rid of these unwelcome guests.
HELP!

Saturday, March 17, 2012

gluten-free Lofthouse Sugar Cookies

Just because something tastes delicious doesn't mean that it has to be bad for you.
Nope.
Take this cookie, for example...


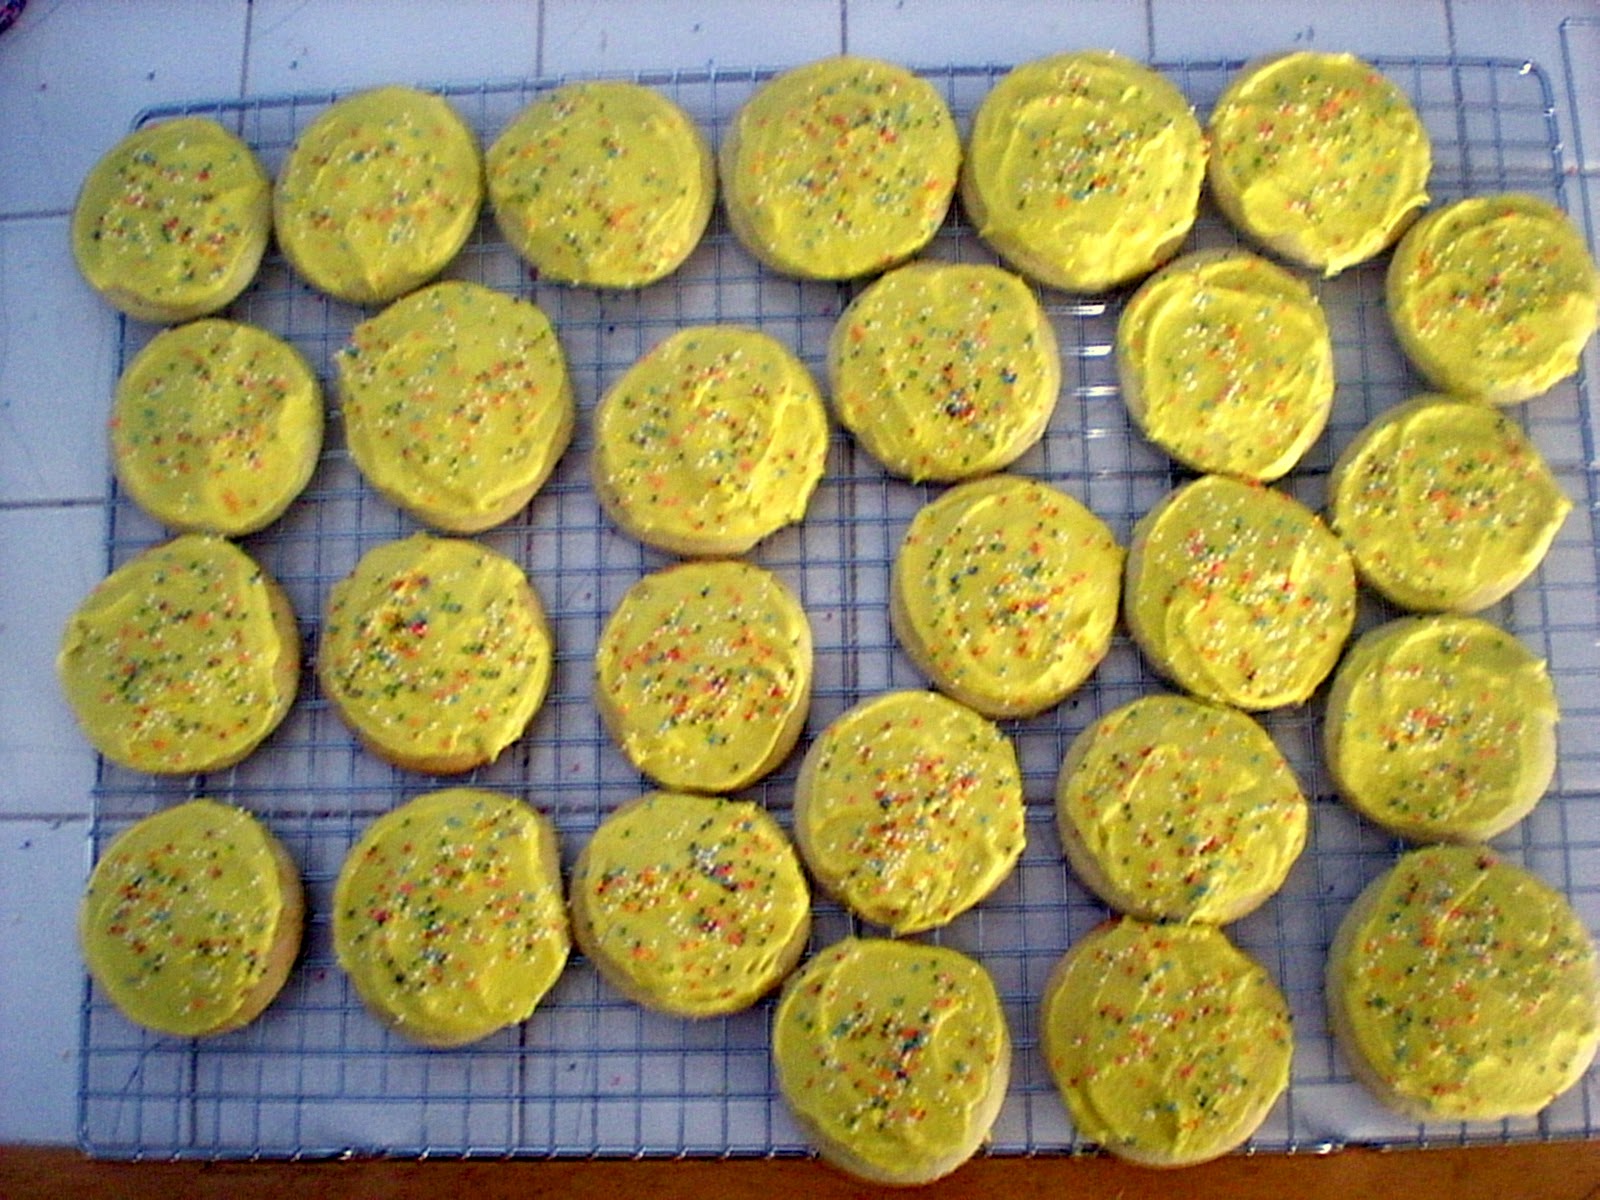
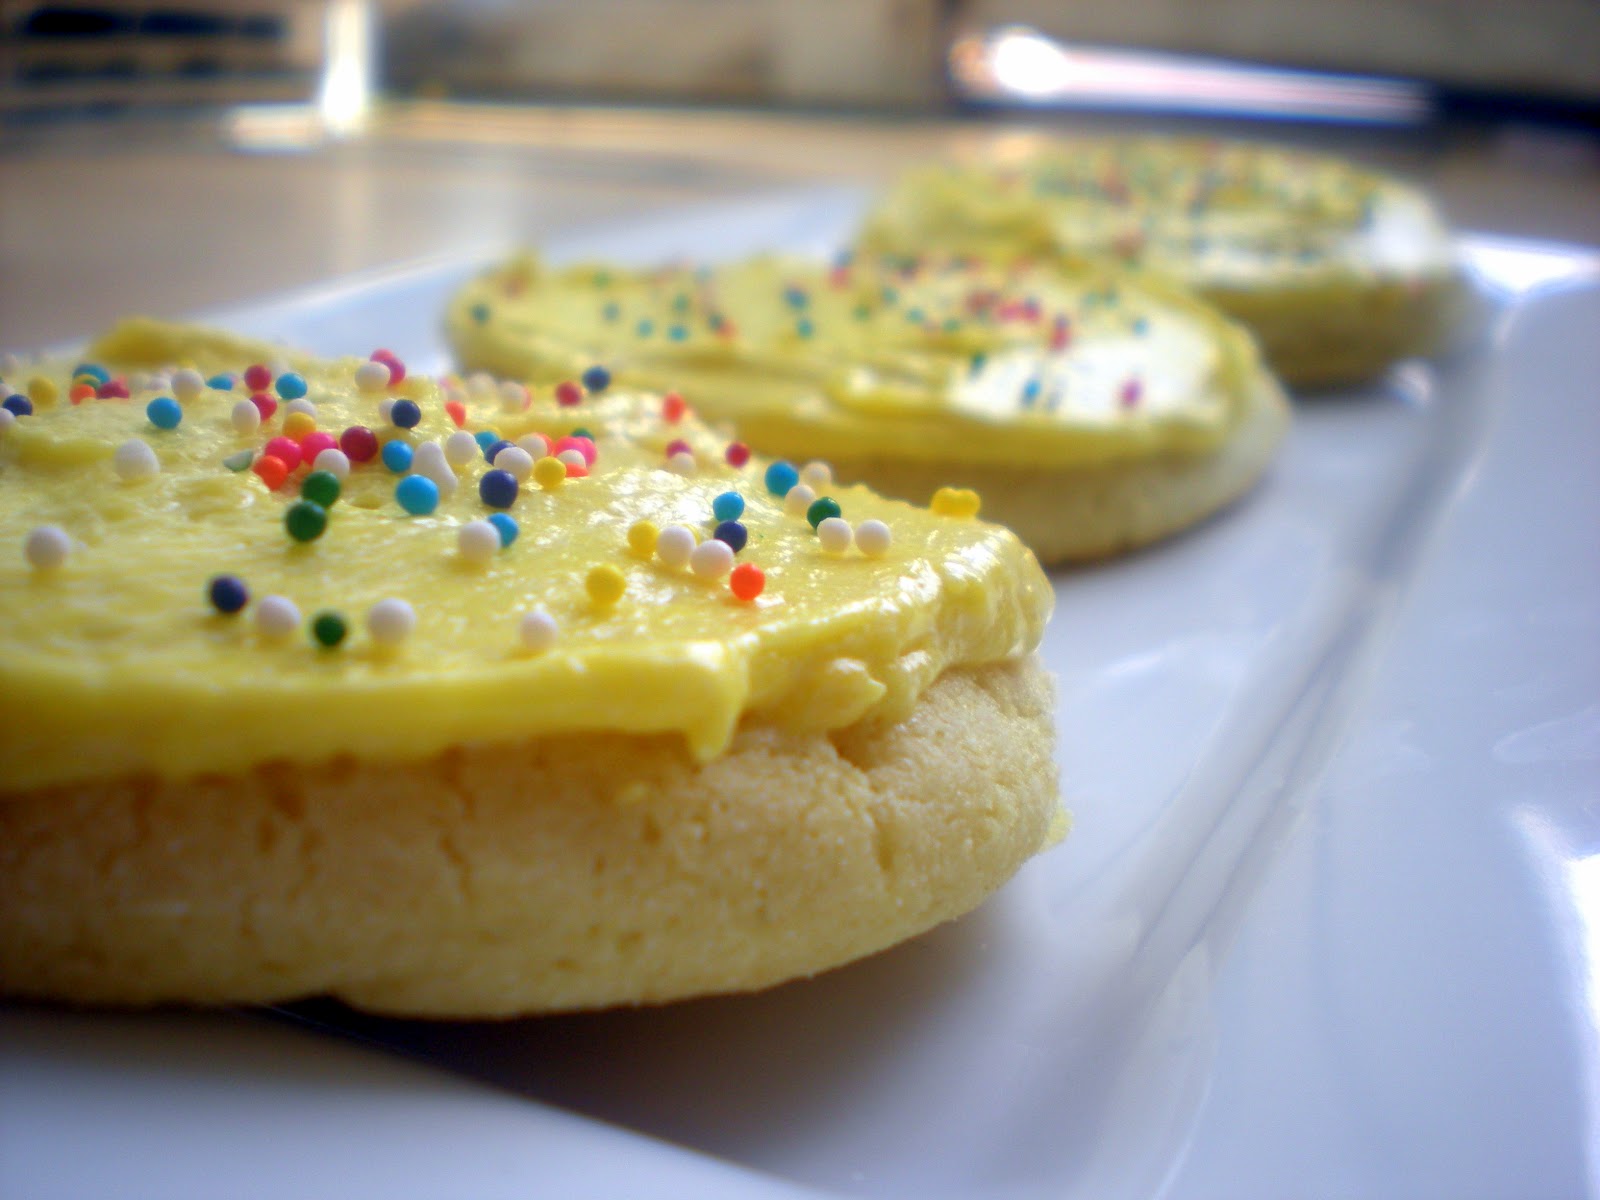
It's gluten-free and dairy-free.
And guess what?
It tastes amazing!

Remember these cookies from yesterday?
Well let's just say that curiosity got the best of me and I just HAD to make up a gluten-free version of them.
Yep, I got a weakness for all things healthy.
I'm pretty pathetic, I know.


Come over here you tasty little cookie you...


Lofthouse-style Sugar Cookies (Gluten-free and Dairy-free)
makes 2-3 dozen cookies
For the cookies:
  • 3 1/2 cups sweet white rice flour
  • 1/2 teaspoon baking soda
  • 1/2 teaspoon baking powder
  • 1/2 teaspoon salt
  • 1/2 cup coconut oil (do not melt)
  • 1 1/4 cups granulated sugar
  • 2 medium eggs
  • 2 teaspoons vanilla extract
  • 3/4 cup dairy-free sour cream
  • 1/4 teaspoon xanthan gum (optional, but acts as a great binder)
For the frosting:
  • 1/2 cup coconut oil (do not melt)
  • 1 teaspoon vanilla extract
  • 1/2 teaspoon almond extract (this extract makes all the difference)
  • 2 1/2 cups powdered sugar
  • Pinch of salt
  • 1 tablespoon almond milk (you may not need this at all)
Food coloring (optional)
Sprinkles (optional)
  1. To make the cookie dough: in a large bowl, whisk together the flour(s), baking soda, baking powder and salt; set aside.
  2. In the bowl of a stand mixer, beat the coconut oil until creamy. Cream the coconut oil and sugar together at medium speed until light and fluffy. Add the eggs, one at a time, beating until each is incorporated. Add the vanilla extract and sour cream and beat at low speed until combined.
  3. Add the dry ingredients and until just combined. Scrape down the bowl as needed. Flatten dough into a rectangle about 1½ inches thick, then wrap with plastic wrap. Chill in the refrigerator overnight or for at least two hours.
  4. Preheat the oven to 425 degrees F. Line large baking sheets with parchment paper; set aside.
  5. Lightly flour the countertop with and the top of the dough with rice flour. With a rolling pin, roll the dough out to ¼-inch thickness. Using cookie cutters (or a mason jar lid), cut out the cookies and place on prepared baking sheets. Bake for 7 minutes, until cookies are slightly golden around the edges. Immediately transfer cookies to a wire rack to cool. Cool cookies completely before frosting them.
  6. To make the frosting: in a large bowl, beat the coconut oil until creamy (with an electric mixer or a stand mixer). Cream together the coconut oil, vanilla extract, and almond extract. Slowly beat in powdered sugar and the pinch of salt. Once smooth and creamy, add in almond milk (if needed...you don't want your frosting to be runny). Beat at medium-high speed for a minute or two until light and fluffy. Add food coloring, if desired, and beat until combined.
  7. Once cookies have cooled completely, frost and add sprinkles.


Devin's parents just got back from a cruise.
And while they were there, his mom bought me some real Mexican vanilla.
It is amazing.
Try it.
Your life will never be the same again.


Your coconut oil will most likely be chunky, so be sure to get it nice and creamy before adding anything else to it, mmmmkaaay?  :)


The first time around that I made this frosting, it looked too thick, so I added in some almond milk.
Unfortunately, I added too much almond milk...


Seeing that my frosting was runny, I decided to add in a dash of xanthan gum.
PLEASE don't do that.
DON'T add xanthum gum to your frosting.
Just trust me on this one, it's bad news bears.


Xanthan gum = glue.
Great for cookies, BAD for frosting.


Take two: no xanthan gum. MUCH better.


Yellow food coloring.
Add some pizazz.


I must share with you this quick little story.
I made these gluten-free sugar cookies and regular sugar cookies on the same weekend.
After tasting both of them, I thought to myself: Wow! Is it just me, or do the gluten-free / dairy-free cookies taste better than the regular ones?
In order to find an answer, I decided to perform an experiment.
I dropped off both types of cookies at Devin's house (for his little sister's--Panda's--birthday) and then brought both types home with me to Wyoming. I never told anyone which one was which. 
The first person to try the cookies was Devin.
Devin: "I like the yellow-frosted cookies better."
Me: "Okay."
Devin: "Those are the normal white flour ones, right?"
Me: "What do you think?"
Devin: "Well they taste better, so they must be the gluten-full ones."
Me: "Nope. The yellow ones are gluten-free and dairy-free. The pink cookies are the regular type."
Devin: "WHAT?! No way!! I think that is the first gluten-free dessert I have liked better than the regular type of dessert."
The reactions I got from my family concurred this truth.
They loved the gluten-free ones a lot more than the normal sugar cookies.
A few days later, we talked to Devin's family.
Me: "So what did you think of the cookies?"
Them: "They were so good."
Me: Looking on the counter, "Why are there still pink-frosted cookies and the yellow-frosted ones are all gone?"
Them: "We loved the yellow-frosted ones. What made them different from the pink cookies?"
Me: "The yellow cookies were gluten and dairy free."
Them: "Really? Wow. We would have never guessed that."

So...what is the conclusion of this experiment?
The gluten-free and dairy-free sugar cookies definitely WON!
By a long-shot.
But are you surprised?
I hope so.
Related Posts Plugin for WordPress, Blogger...